

Tempered's own, master clockmaker David Walter, who makes fantastic clocks also takes on restoration work of fine watches and clocks. David was good enough to send us a few pics and captions of some of the steps required in making a spring detent.
The following is from David Walter...
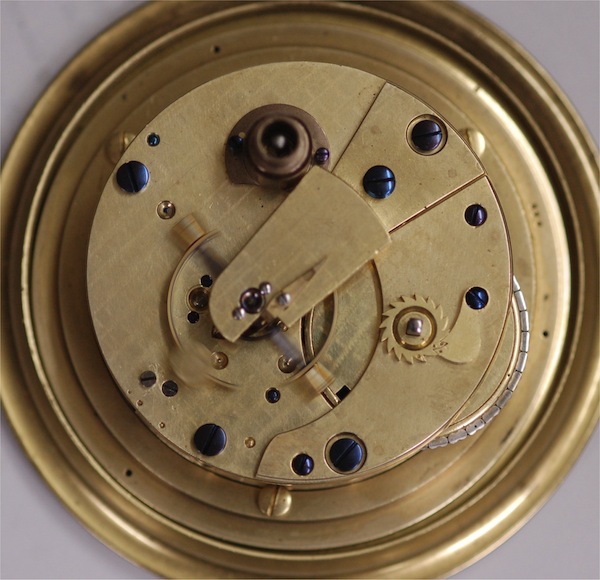
Joseph Sewill, Liverpool . No. 1178. listed 1848- 51, Liverpool, Chronometer maker.

The movt is an early Mercer and is perhaps the earliest Mercer known as the owner tells me.
the starting form is done using oil hardeneing steel 1/8" thick, the locations for the foot hole and the locking jewel are the very first job to do and is crucial to success. After drilling the rough from for the detent is filed using large files with a fine cut.
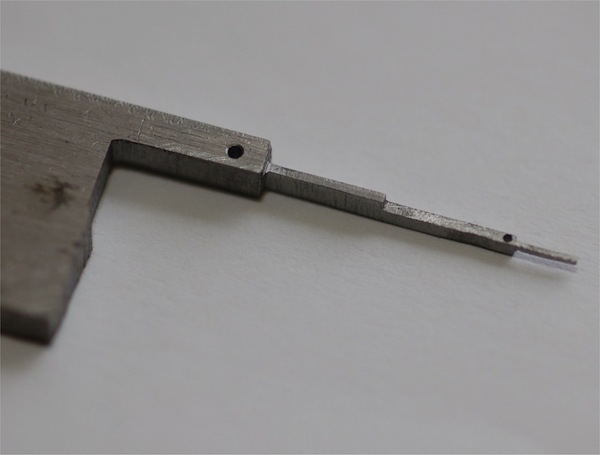
The detent is now taking shape with the horn being created and the step for the detent dody taking shape, at this pint the hole for the passing spring is drilled and tapped.
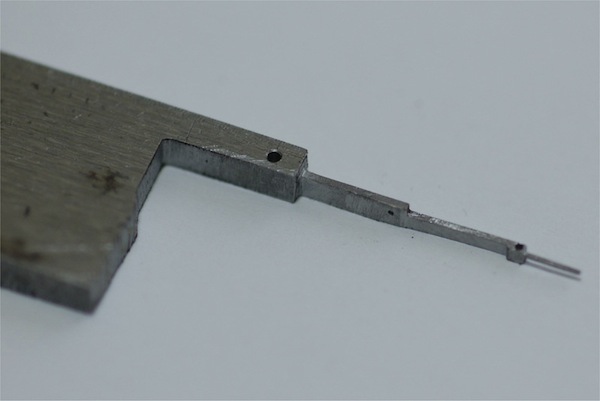
The body is almost to shape as is the metal surrounding the locking jewel.
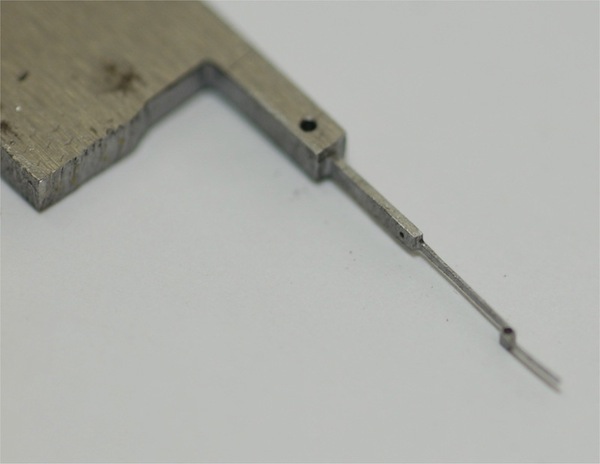
A different view at the same stage.
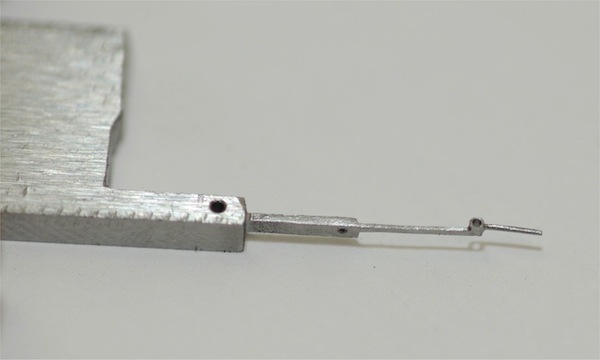
The underside of what will be the spring is relieved and the foot is now formed. No cleaning up is started at this point.
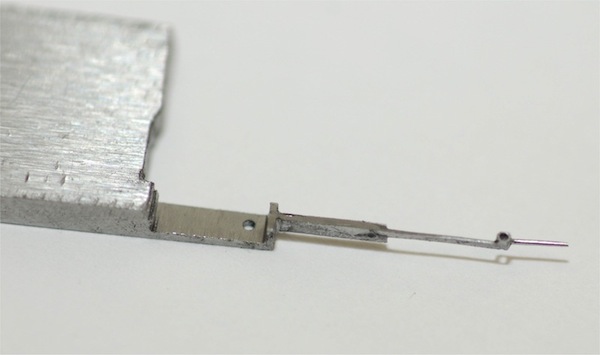
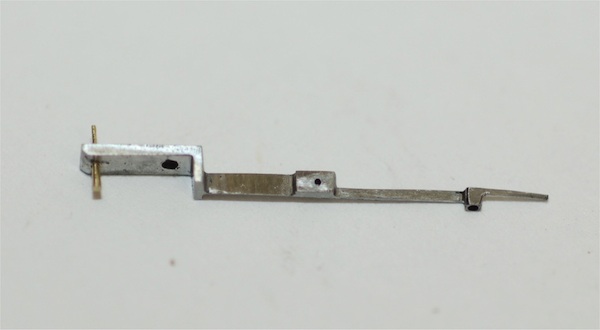
The detent is cut off from the stock and the spring begins to take shape as well as thinning of the main body to the locking jewel hole leaving the seat for the passing spring. The detent is now fitted into position and screwed into place, at this time the detent must be set in what will be the final location relative to the correct tooth on the escape wheel. Once this is established the hole for the brass locating pin can be drilled and the pin temporairly fitted to the foot. The pin must be removed for harending or it will melt.
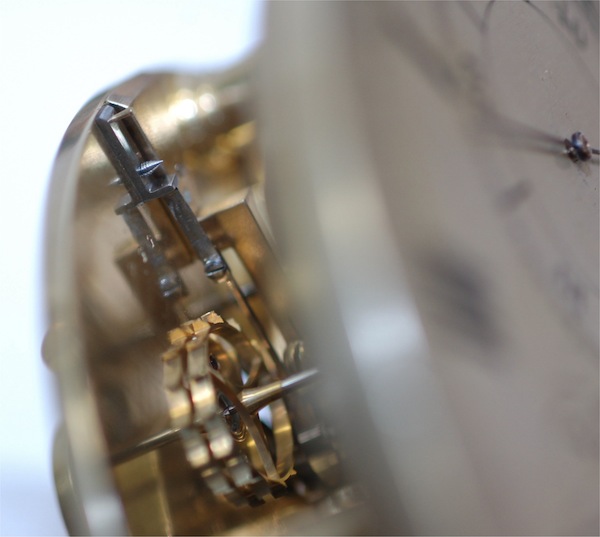
The almost finished detent in location in the chronometer and running.
Time constraints, and nerves in general, prevented me from taking pictures of the final finishing process and tidying up of the detent. Maybe next time!

A few notes:
The detent remains attached to the stock material as long as possible which makes it easier to handle and hold during the filing processes. When the spring approaces is final thickness the detent is rested on a cork block which tends to hold the detent while light cuts are made, the cork block is also usefull when finishing all parts of the detent.
It is of the utmost importance to use new, very sharp, quality files to shape the spring and for for the whole job, cheap needle files will not be sufficient to make a detent. I use German made 'Dick" files and using a diamond wheel grind off one edge of the files I use even on a triangular file. I expect to use about $ 140 worth of new files to complete a detent.
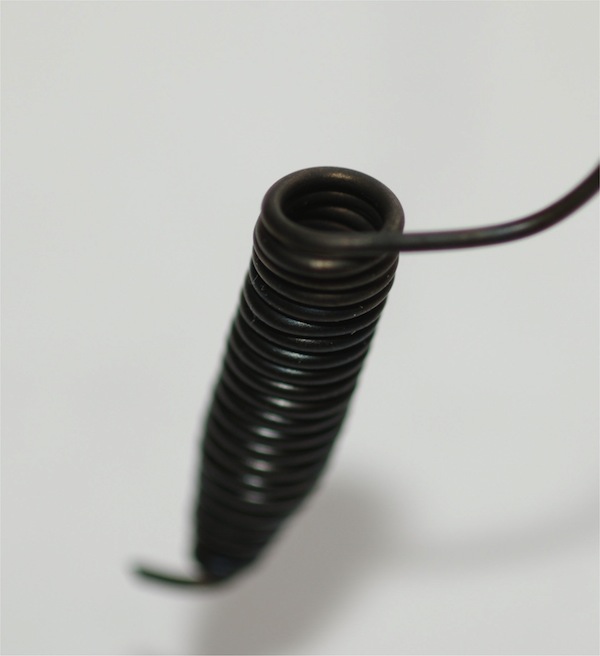
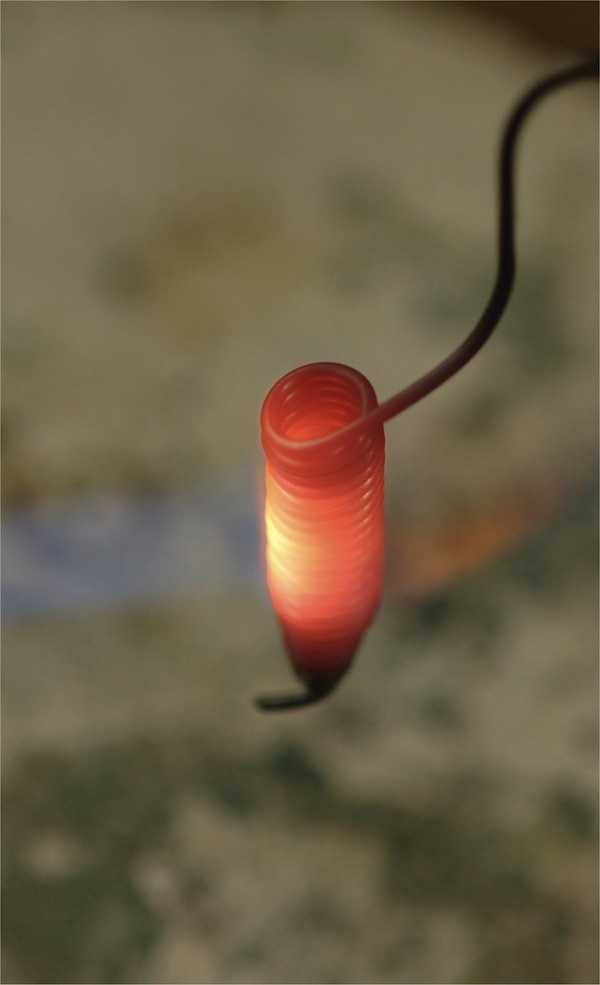
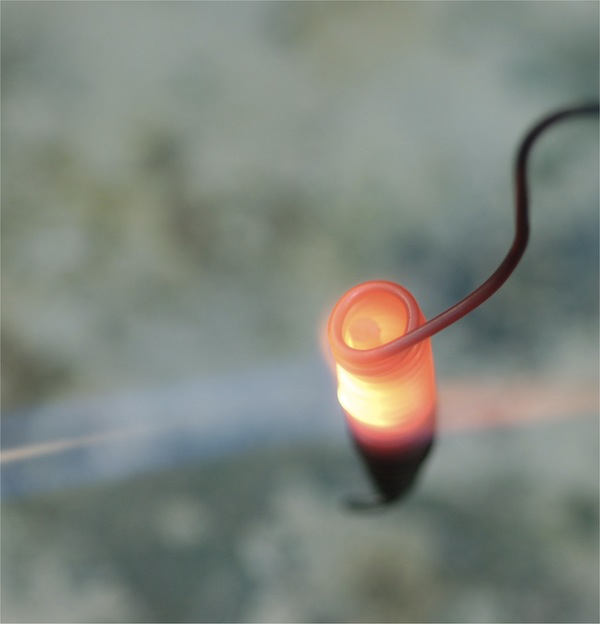
Below are 3 pics of the heating basket, the basket is made from soft iron wire wrapped around a pencil and long enough for the workpiece to fully inserted. doing it this way prevents fire scale from the flame and there is no chance of distortion due to winding with fine wire or portions missed if covered in soft soap.
The first is the basket cold
Second is heating the basket up
Third is with a 3mm rod heated to red hot and ready to be quenched, the complete basket and work is plunged into oil for hardening.
Thanks for the tutorial David. I know you have other interesting restorations going on and hope you share your experiences with us.
David Walter's "tempered" pages are located HERE
and a few other links of interest...
Link 1
Link 2
Link 3
Link 4
Link 5
Cheers,
Curtis
